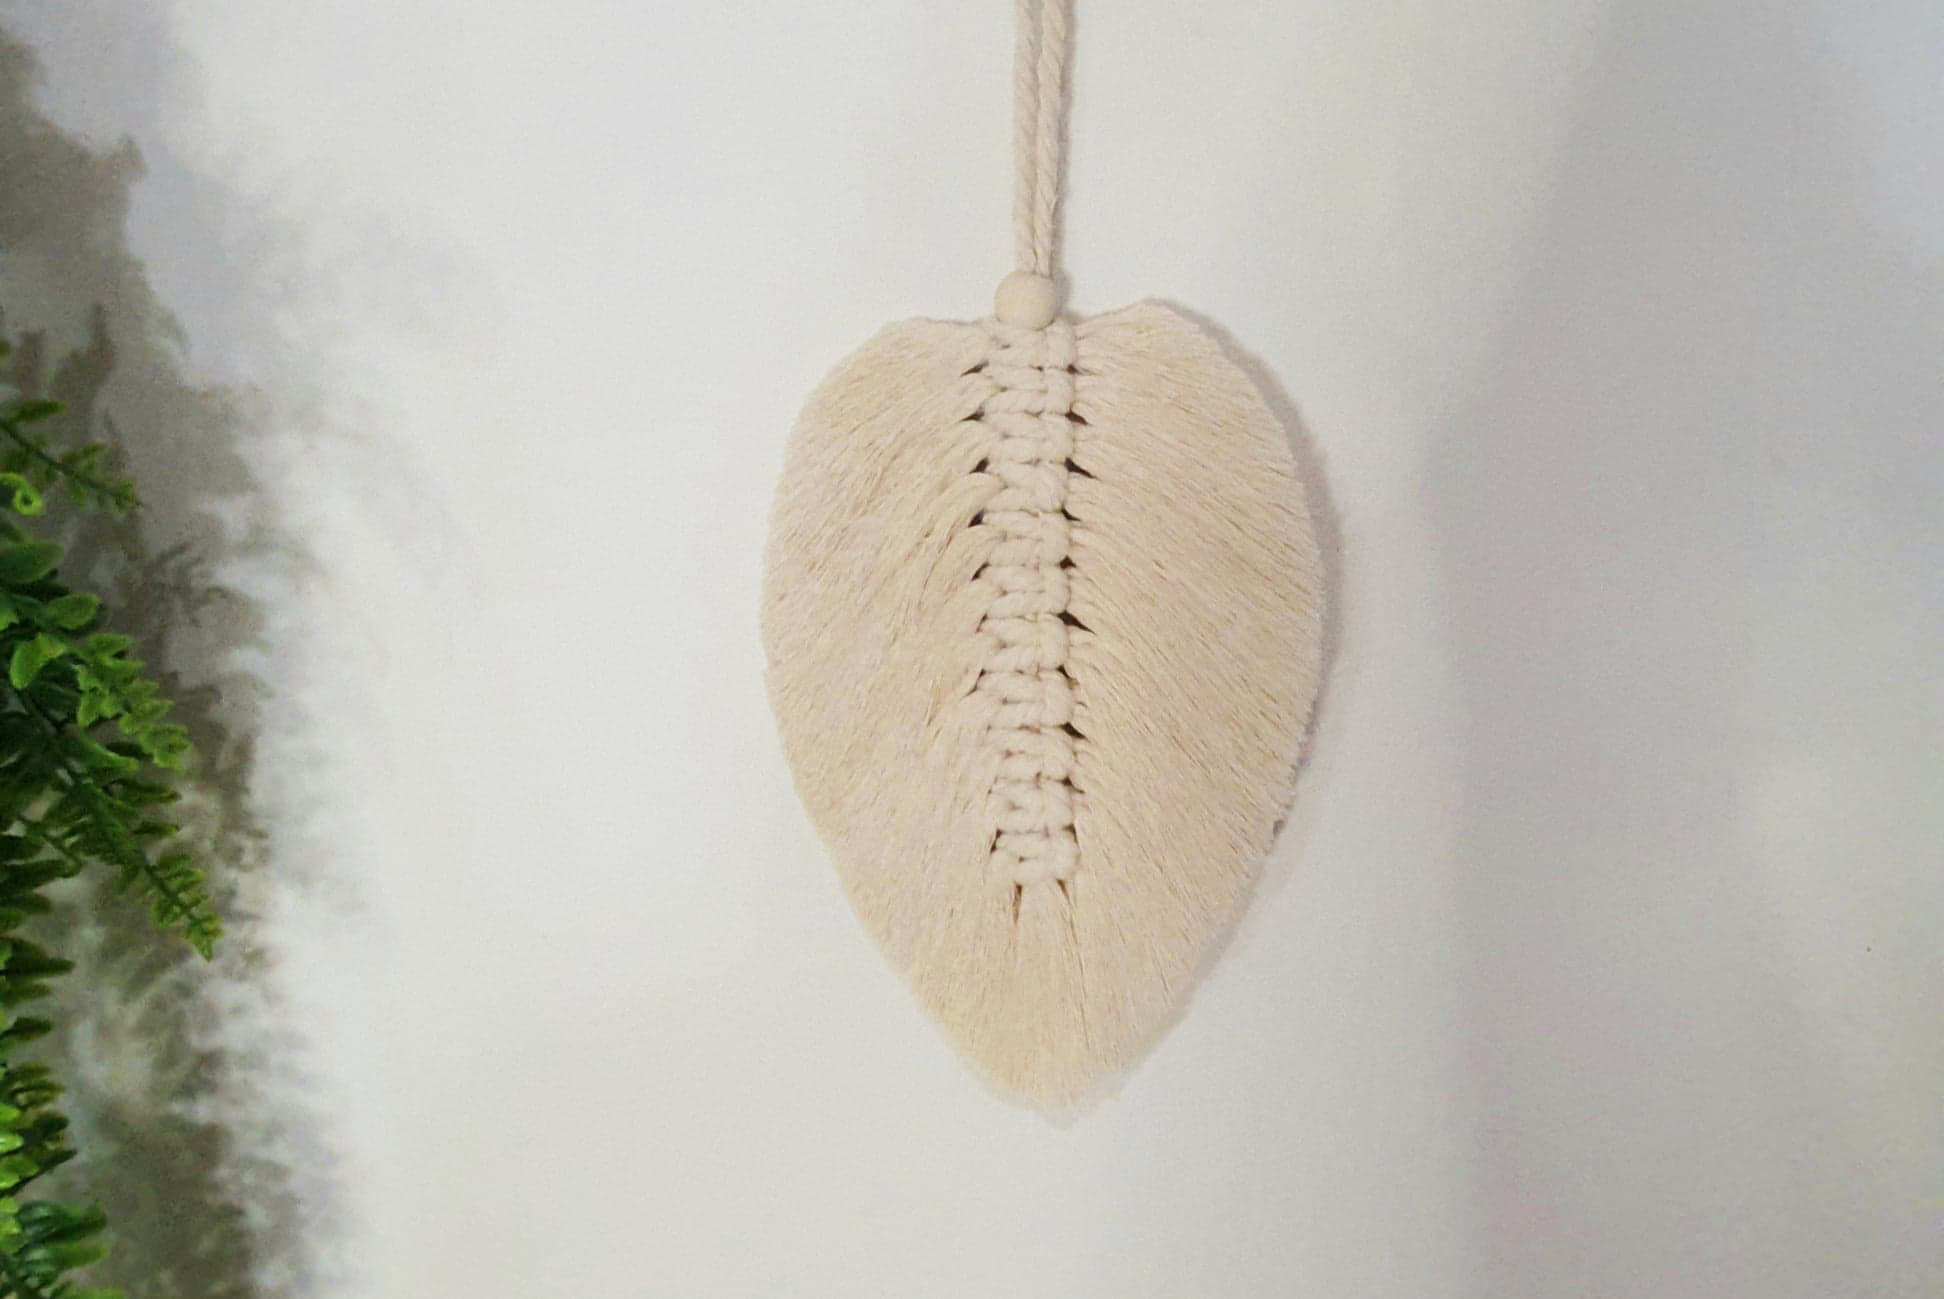
In this easy to follow, step-by-step tutorial (DIY Diamond Macrame Wall Hanging), I’ll show you how to make this quick and easy, not to mention cute, diamond macrame wall hanging. Whether you’re a beginner or have some prior experience crafting with knots, you should have no trouble creating this wall hanging and more from the pattern I will guide you through.
This is a simple macrame wall hanging pattern for beginner/intermediate level. You will need to be familiar with the larks head knot, square knot, and double-half hitch knot. Please read my earlier article ‘Macrame for Beginners – Part 1: 4 Basic Macrame Knots‘ or watch the video ‘Macrame for beginners – part 1‘ to learn these if you’re not familiar with them. I hope you enjoy this tutorial and find it easy to follow.

You can watch a video version of this post HERE on my YouTube channel ‘BohoJo’s Decor DIY‘.
or click the video below.
Don’t forget to like and subscribe to my YouTube Channel to keep up to date with new videos when I upload them, including the series ‘Macrame For Beginners‘.
Macrame Decor
Macrame is quickly coming back as one of the most popular crafts to do at home, and macrame items are in high demand with todays decor trends. The ‘Boho’, ‘Shabby Chic’, and ‘Rustic’ decor themes include wall hangings, pillow covers, plant hangers, table runners, and more, boasting intricate macrame patterns and designs.
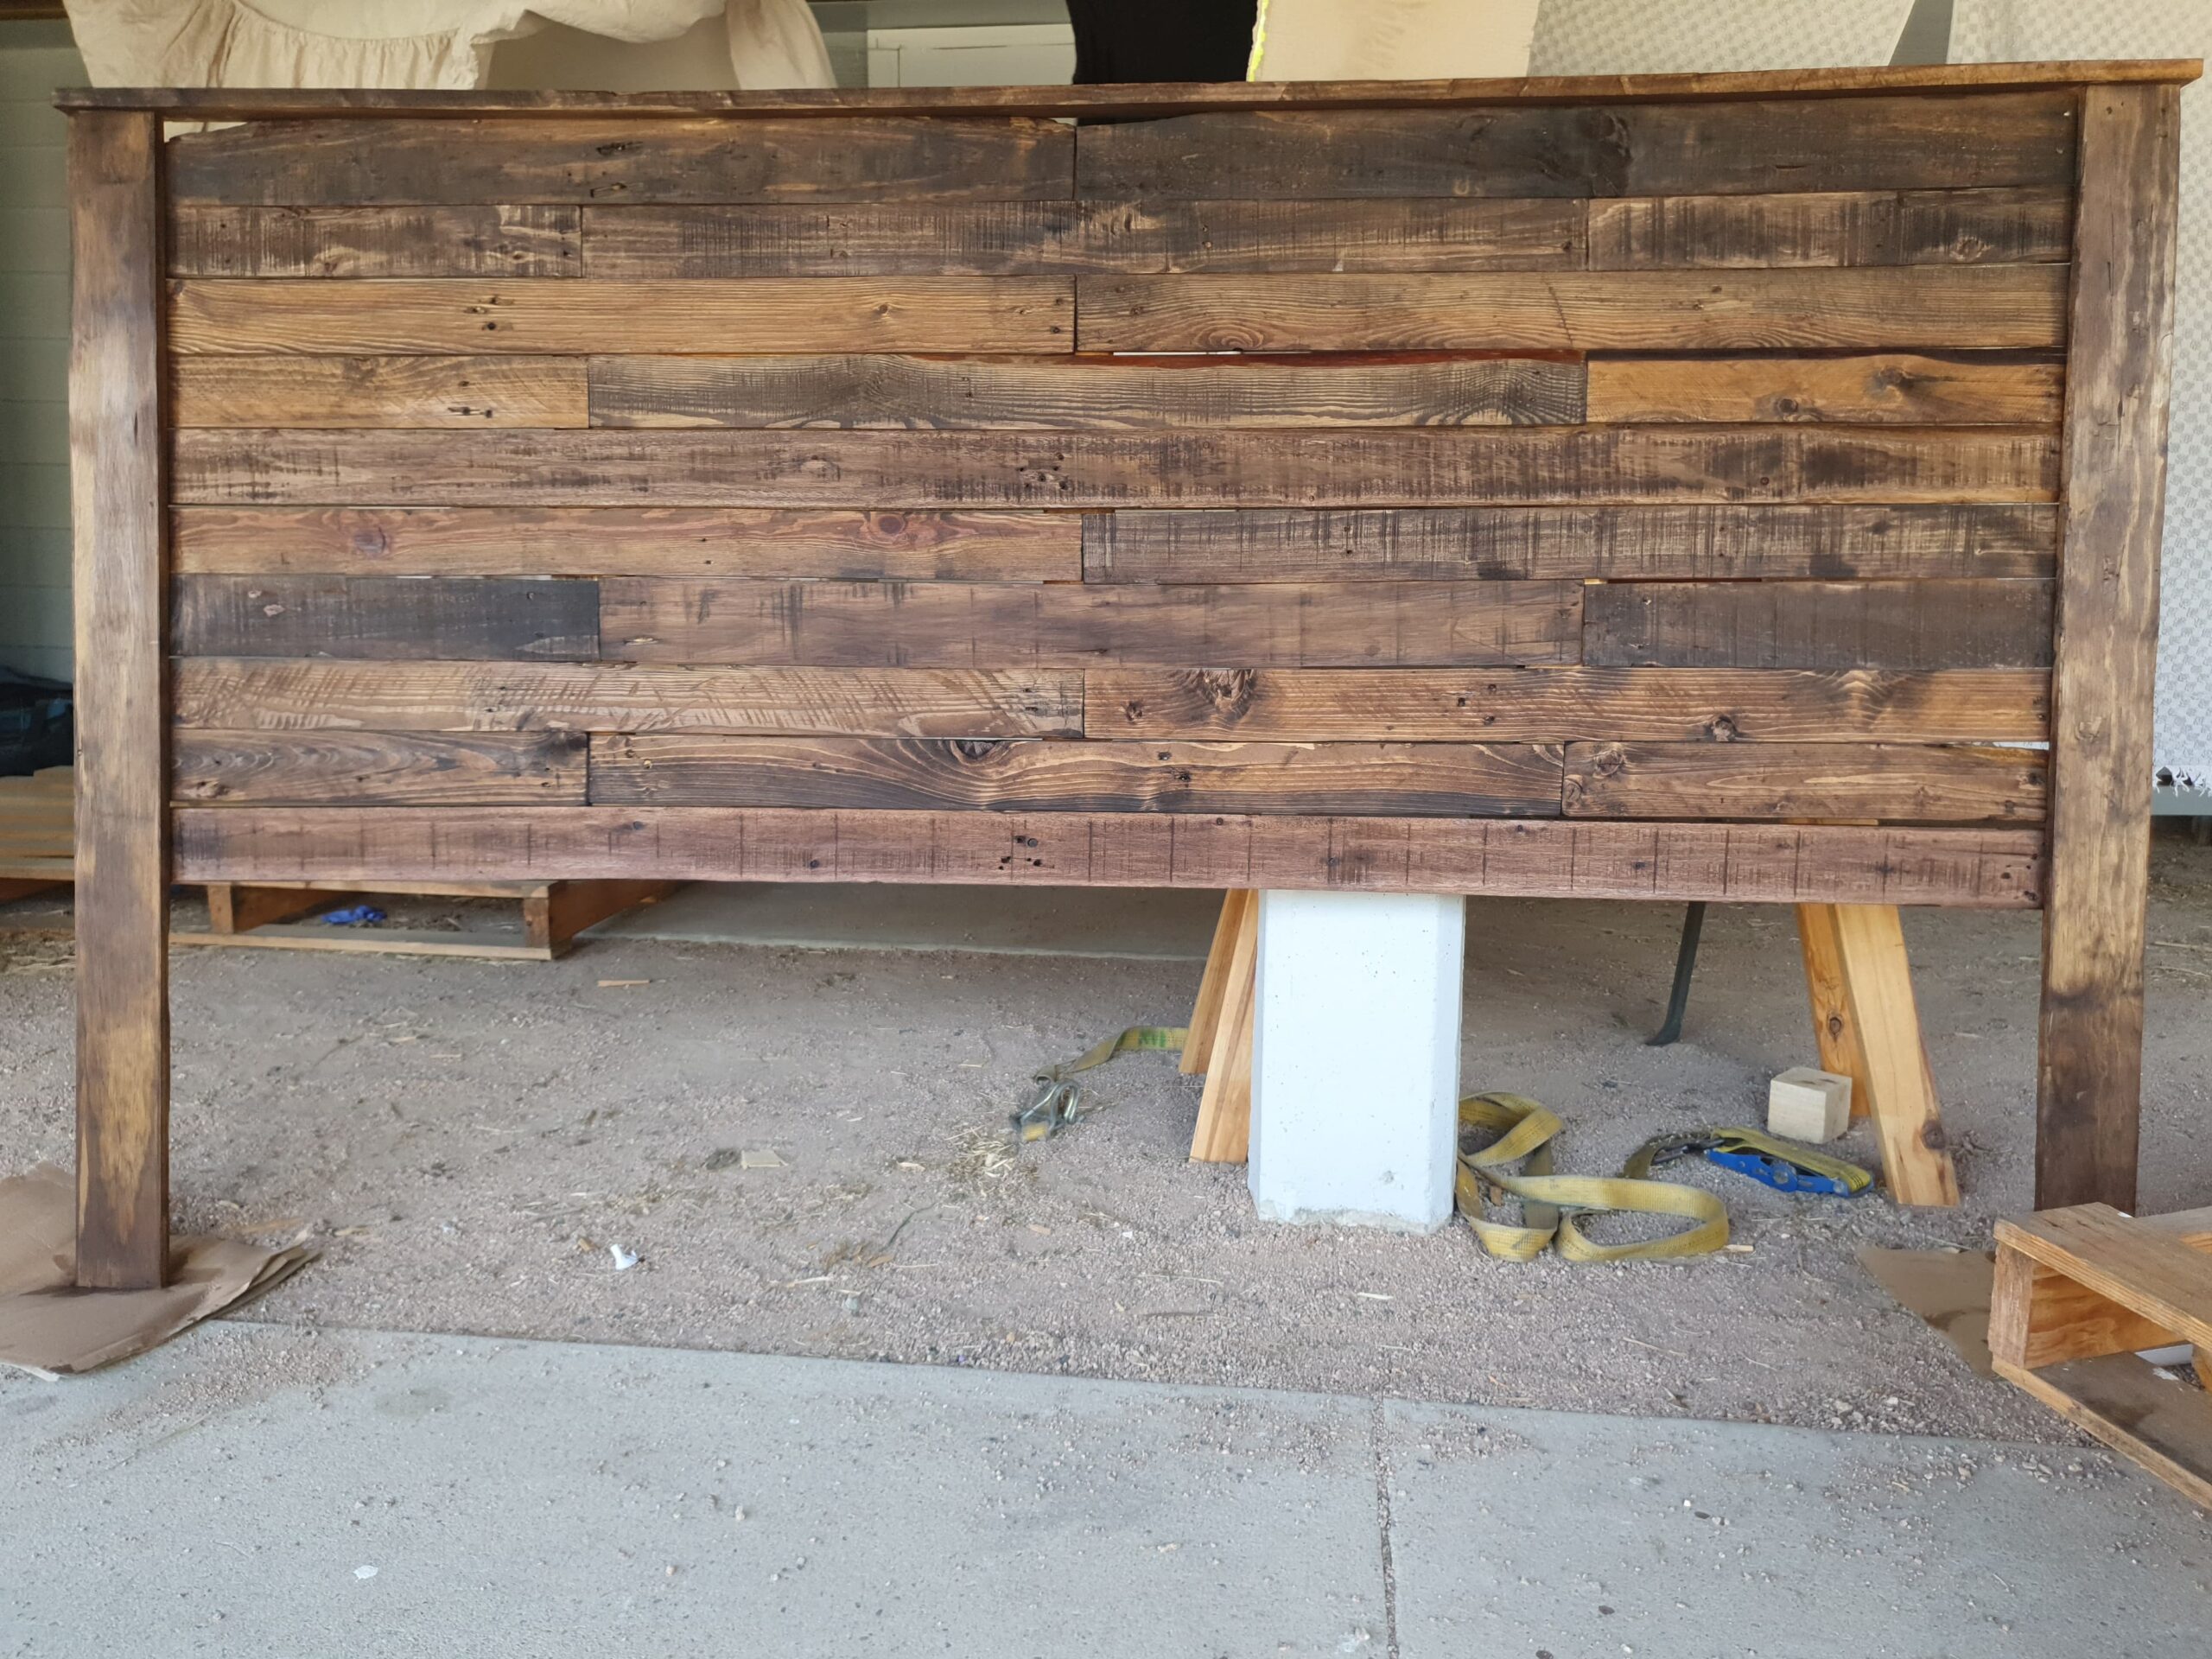
The most common decor theme to use macrame is the boho style. The trend in this style is to combine nature with artistic design, lot’s of plants or various woods with soft comfortable materials, throw rugs, pillows, macrame, etc. Basically you can design it to your liking and unique taste.
I personally love natural fibres, reclaimed wood, earthy tones, plants and comfortable, light coloured fabrics. It brings a certain warmth and comfortable aesthetic to any room. This wall hanging fits perfectly with the boho style and it’s simple to make if you are familiar with the knots. Don’t forget to watch the tutorial below if you are not!
One quick note. If you are a beginner, please don’t expect to get it perfect the first time. Macrame get’s a bit easier the more you practice, so do not be afraid to undo your work and start again if you don’t like how it came out the first time.
Well, let’s get started on this DIY diamond macrame wall hanging then, shall we?
*NOTE: Please excuse the quality of my images. I am hoping to get a new camera soon
1. What You’ll Need For Your DIY Diamond Macrame Wall Hanging

You won’t need a lot of supplies for this project, the main items you will need are:
Materials:
- 16 lengths of 4mm cord at 300cm long
- 24cm wooden rod dowling or tree branch
Tools:
- A Pair of Scissors
- Measuring Tape
You can find any of the supplies for your DIY diamond macrame wall hanging at your local stores or online at Amazon.com or Amazon.com.au (I use 100% recycled macrame cord from Etsy), or if you want to go direct to the wholesaler to save some $$ and you’re willing to wait a little while for postage, then you can get just about anything and everything on Aliexpress.com (Get $5 off $20 with code NEWUS5 or $8 off $40 with code NEWUS8).
This page contains affiliate links that may earn me a commission (without any extra cost to you) if you click on a link and make a purchase. Please visit our privacy policy for more information. Affiliate links are how I keep this blog running, thank you.


Step 1
First thing to do is cut your cord (16 x 300cm) and attach to your rod.
- Use your measuring tape to cut 16 lengths of macrame cord at 300cm each
- Attach your cords with the larks head knot

Step 2
The first part of our design will require 32 square knots, outlining the top of the diamond.
- Starting with the first cord from the left, tie 8 square knots across the top.
- Below the first row of knots, starting with the 3rd cord from the left, tie 3 alternating square knots.
- Skip the 4 middle cords and tie 3 more alternating square knots.
- On the next row, tie 3 square knots, starting with the first cord from the left.
- Skip 8 cords and tie 3 more square knots.
- On the next row, starting with the 3rd cord from the left, tie 2 alternating square knots.
- Skip 12 cords and tie 2 square knots.
- On the next row, tie two square knots, starting with the first cord from the left.
- Repeat on the right, ending your 2nd square knot on the last cord in the row.
- On the next row, starting with the 3 cord from the left, tie one alternating square knot
- Repeat on the right, ending with the 3rd cord from the right.
- Tie one square knot, starting with the first cord from the left.
- Repeat on the right side, ending with the last cord (first cord from the right).
This should form the outline of a triangle, minus the bottom line


Step 3
This step creates the half diamond with double lines.
- Take your two middle cords (16th & 17th cords from the left) and cross the right one over the left.
- Using the right hand cord (your filler cord) that you’ve crossed over to the left, take the second cord to the left (so skip the first cord) and tie 15 double-half hitch knots, down to the last cord on the left.
- Repeat on the right side, using the skipped cord as your filler cord.
- Repeat this process underneath (creating double lines), remembering to skip a cord on the left and using that cord as your filler cord on the right. You’ll only tie 14 double-half hitch knots this time. So do not tie a double-half hitch knot on the last cord (the filler cord from the row of knots above), leave that one hanging.


Step 4
Now we’ll fill the gap between the half diamond and the full diamond (still to tie) with square knots.
- Using the 4 cords in the middle (15th – 18th cords from the left) tie one square knot.
- Tie 6 alternating square knots (so using two cords from the square not above and the next two to the left) down to the left.
- Repeat on the right.


Step 5
Now it’s time to create the star of the piece, or more accurately the diamond.
- Like we did in step 3, take your 2 middle cords and cross the right one over the left, skip the first cord and use the next one to tie 10 double-half hitch knots down to the left.
- Repeat on the right side, using the skipped cord as your filler cord.
- Make sure the ends of all your knots create diagonal lines, reflecting the angle of your diamond shape (See pic 3.)
- There should be 20 cords hanging below the top half of the diamond you just created. Use the two cords on either side (1st, 2nd, 19th & 20th cords) to tie a square knot around all the cords in the middle.
- Now use the same filler cord on the left, that you used to create the top left side of the diamond, and tie 10 double-half hitch knots down to the right (this completes the left side of the diamond).
- Repeat step 5 on the right side, using the same filler cord that you used for the top right side of the diamond, and tie your knots down the the left.
- Use the filler cord on the right to tie the last double-half hitch knot and complete the diamond.


Step 6
The last part of the diamond pattern is pretty simple.
- Starting with the 4th cord from the left, tie 5 square knots down the side of the diamond shape. Each time using the two right hand cords from the square knot above, with the next two cords to the right.
- Repeat on the right side, starting with the 4th cord from the right, and using the two left-hand cords of the square knot above with the next two cords to the left.
- Finish with one square knot at the bottom of the diamond.


Step 7
Now with your diamond complete, all you need to do is trim the bottom. If you’re really good at cutting straight, you could simply eye-ball it while it’s on your working frame (which I do sometimes but it never comes out quite as well) or you could use some tape.
Tie some string or cord to your rod or branch and hang it on the wall, then:
- Measure about 35cm from the bottom of your diamond shape (you can obviously make this longer or shorter according to your liking), this will be the longest point of the hanging.
- Use some tape to create the triangular shape to match the diamond pattern. The point of the triangle should be at the 35cm point. Cut along the lines.
- Untwist the ends of each cord a little to create that frayed look.
- Hang your finished masterpiece on the wall or give it as a gift to a friend.


DIY Diamond Macrame Wall Hanging
So there you have it, a quick and easy step-by-step guide to making your own diamond macrame wall hanger. I’m pretty sure once you have created this, you’ll want to create more (unless you’re already an expert, then you’ll simply have one more pattern to add to your skill set).
Don’t forget to tag me on social media when you post your creations so that I can see what you’ve made.
Facebook: BohoJo’s Decor
Instagram: @bohojosdecor
TikTok: @bohojos
Please subscribe to my YouTube channel if you’d like to see all these posts in video format, or subscribe to the email list below to be notified when more DIY articles are posted, including the series ‘Macrame for Beginners’.
If you’d like to see what macrame products you can make or would like to purchase some of my macrame and other decor products, visit my Etsy store at BohoJosDecor.


DIY Email Subscribe
Thanks for reading this article, don’t forget to sign up to our DIY email list to receive news about all the latest DIY articles, by filling in the form below.
MLS Email Subscribe
You can also subscribe to the ‘Mum Life Stories’ email list to receive all the latest news, stories, DIY articles and competition information including writing competitions and give-aways by clicking the button below. You’ll also receive a FREE eBook!